Sunday, 20 May 2012

Paint Shop hours - WIFA work

For my extra credit hours, I worked in the paint shop and helped out on the set for War is Fucking Awesome. This is some of the work that I did:


Sculpting foam with horse grooming tools to give the look of rock


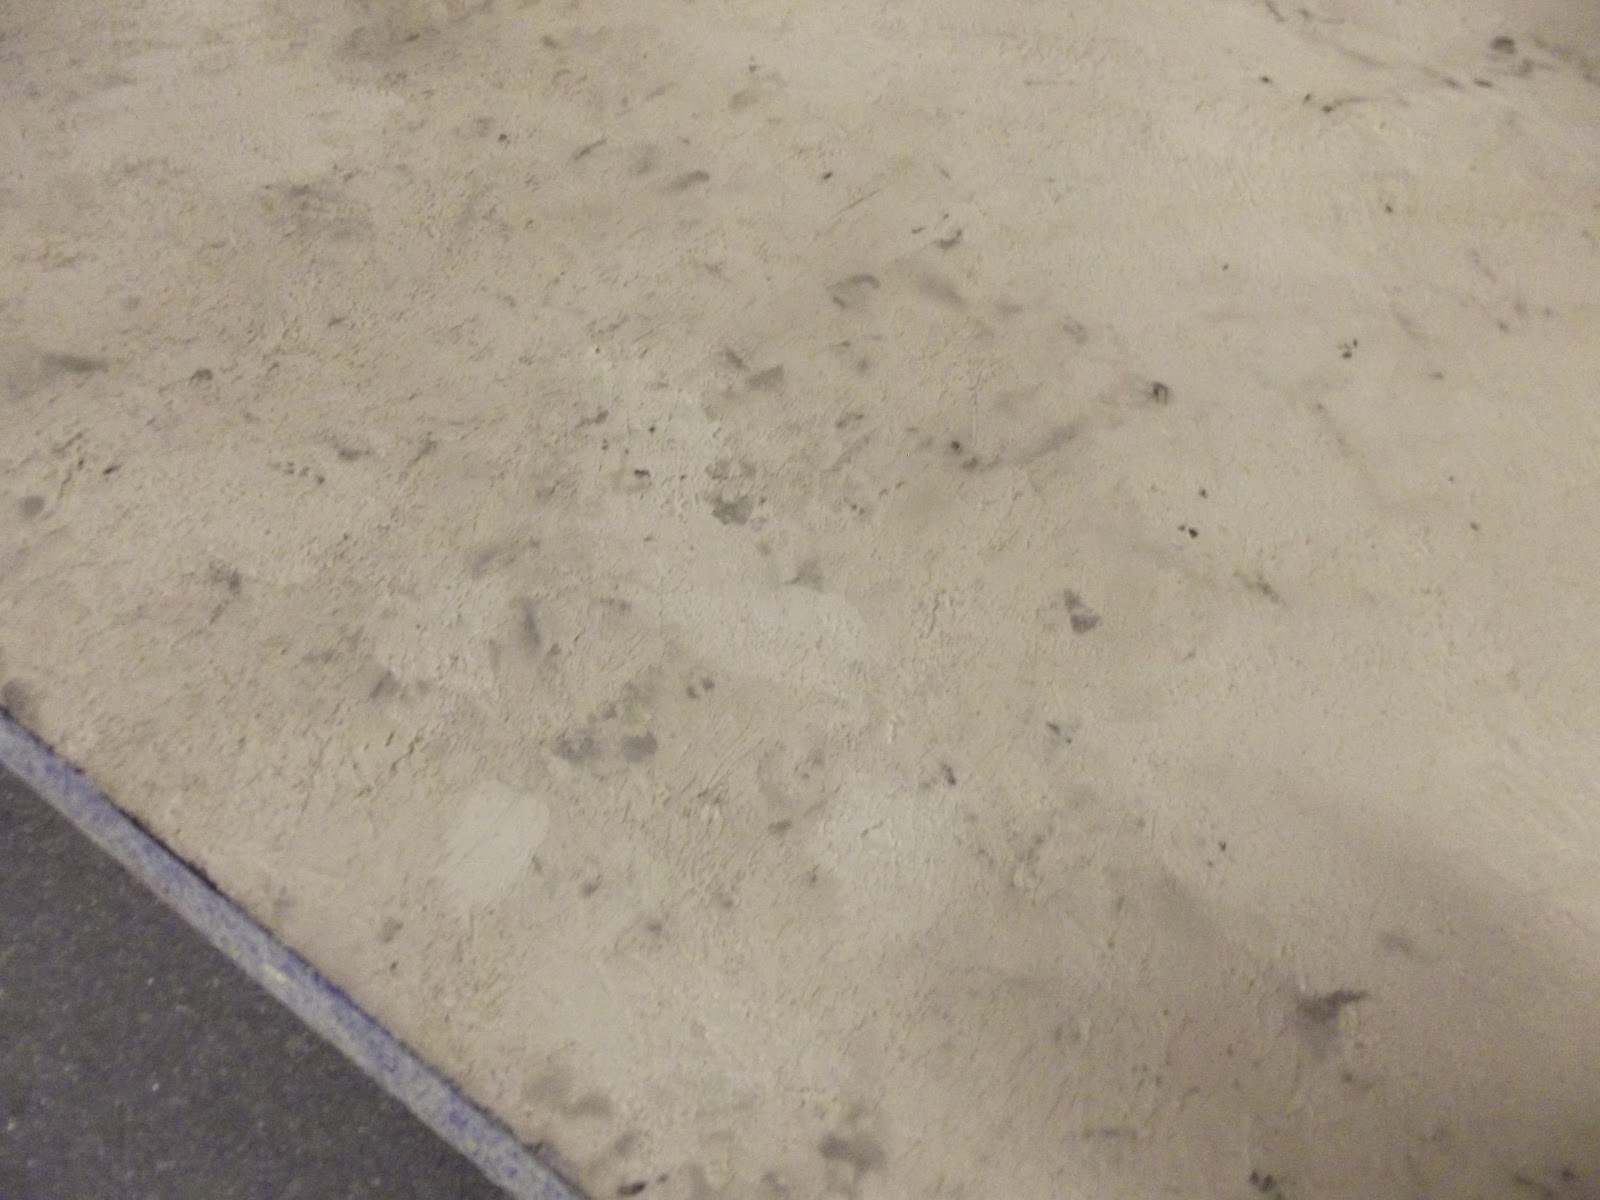

Using Mr Crusty (a mixture of clay powder and white glue) to add texture


We smoothed it on with trowels and then stuck the trowel down flat on the surface and pulled it up to create texture


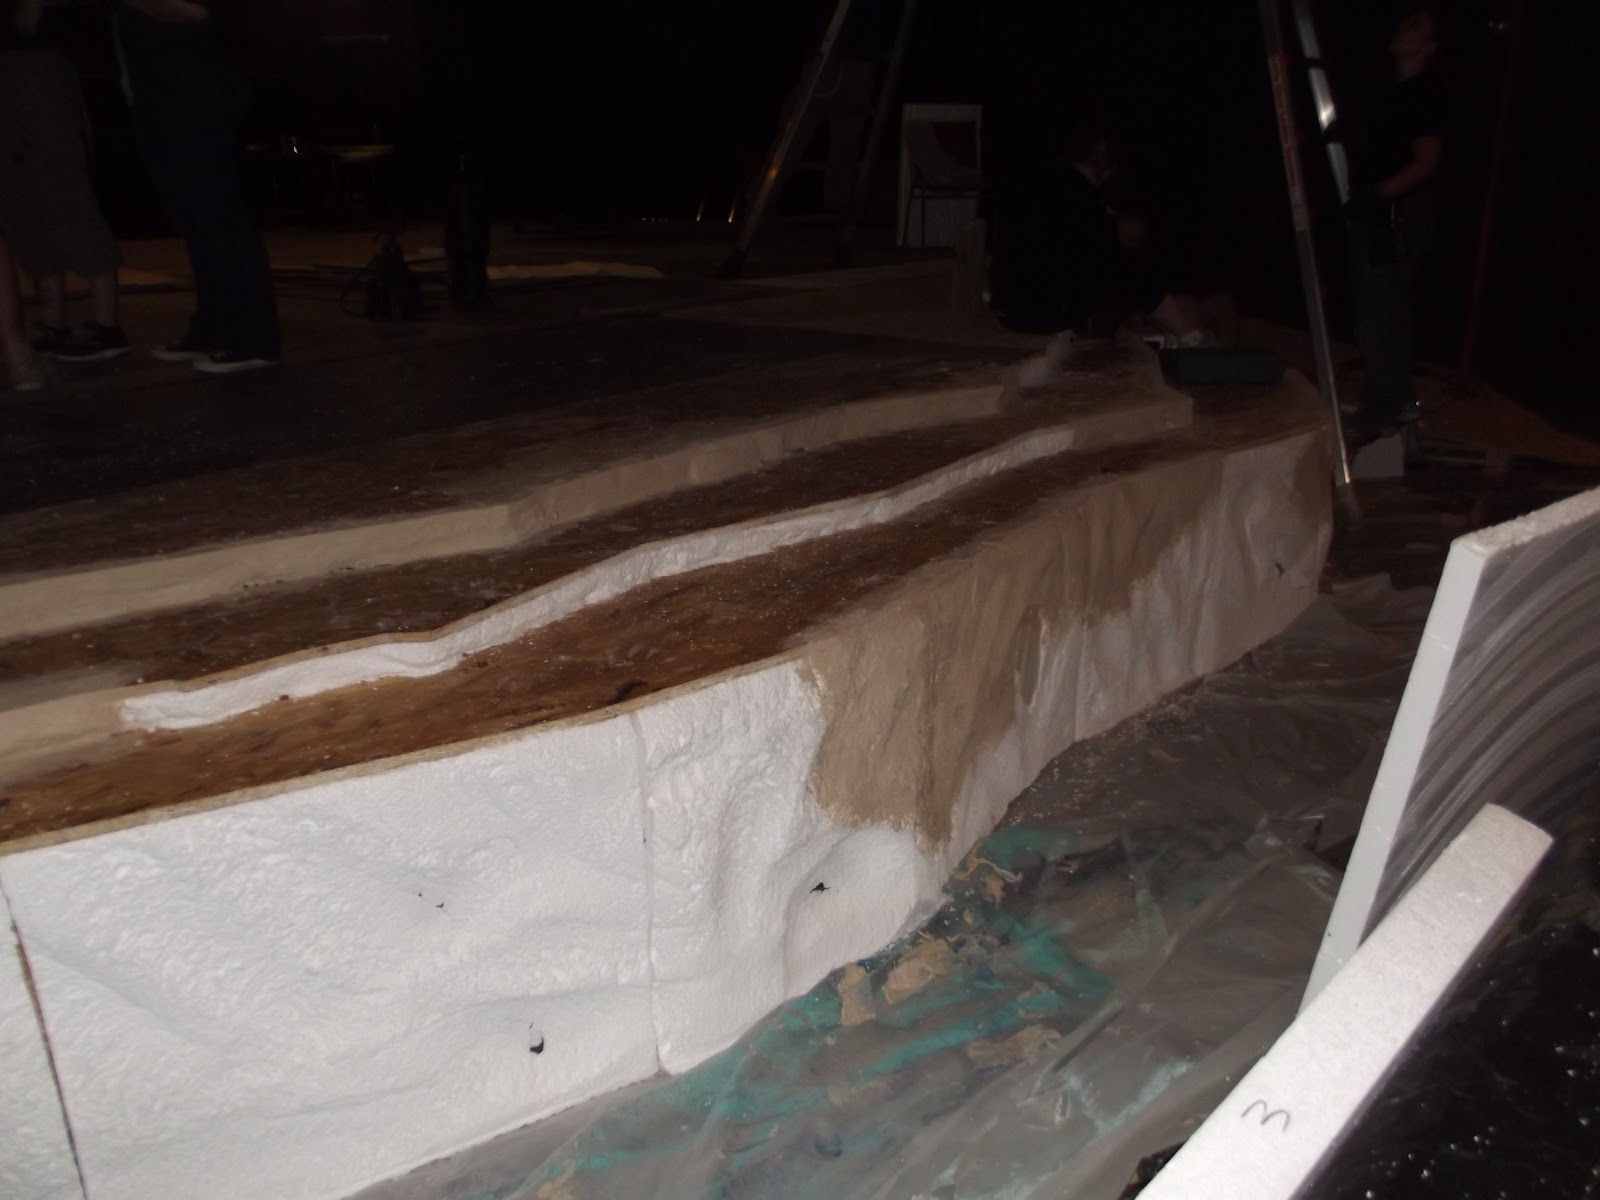

We covered in foam with cheese cloth and Mr Crusty to strengthen it and give it a more rocky feel.


We painted stripes onto the front of the stage to represent the American Flag


We applied Mr Crusty mixed with foam balls to the front to create more texture


Using brown, yellow and grey, we painted to rock face, mixing the colours and feathering them into each other.


We painted red or white on the front of each step depending on what colour the stripe was. This gave an impression of the red dripping down like blood.


I helped the set designer, Cassie, sponge tones of blue on for the square of the flag.


This is what the set looked like after paint priority weekend.

These are some production pictures of the set:


I helped paint the eagle on, paint the rings and paint the 'rock' it's mounted on with the same technique as we did on the front of the stage.


I also helped cover the 'wagons' at the back which are moving set pieces made to look like big chunks of rock.

I have really enjoyed working on the WIFA set and it gave me a chance to apply some of the skills I learnt in scene painting class to an actual set. It has really made me realise how much I want to do set painting.

Marble

For our next scene painting project, we did a marble sample.

We were given this research by David:


This first step was to do a wash of the light base colour. I then splattered it with a slightly darker green, and sponged and cross hatched the same darker green and burnt sienna in places according to the research.


I then painted the veins on using a feather and a mixture of paint and glaze.


I then sponged on grey in areas that needed it and splattered on a darker green.


I sponged on more burnt sienna and some of a lighter green colour to add more tone and variation.


I am really happy with this piece and I feel like reflects the research well.

Monday, 14 May 2012

Surface Exploration

For Scene Painting class, I had to take photos of different types of surfaces to use as reference material in the future. I thought this was an excellent idea and I have put all the photos in labelled folders on my laptop. I have also put them into a Prezi presentation. I will continue to add to this library of images over time so that I can easily use them as reference material.

Here is a link to my presentation:
Prezi Presentation

Wednesday, 9 May 2012

Backdrop for Tarheel Tales

Kate, a friend that I have made here at OU asked me to paint a backdrop for her recent children's show that she's directing with a small group of actors. I jumped at the chance and wanted to help out as much as I could.

She sent me this image as a reference:


I was really excited when I saw this image as it's so visually exciting and will be great to recreate.

I have decided to use sprayers to apply the paint to the background, I will then go in with a paintbrush to define the swirls. Finally I will splatter silver paint on the lift it a bit.

I took these pictures when I was done:


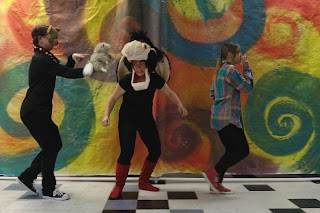
Corinne Zachry, the sound designer, took these photos on Saturday of the guys performing infront of the backdrop:


I'm so happy with how it has turned out. It was such a fun little project to do and Kate is really grateful.

Making a Canteen

Originally, I was meant to make the canteens out of wood. But after seeing a rehearsal, my props tutor has decided that they need to be made from foam as this will be safer during the stage combat and will endure more wear and tear. I feel a bit dubious as I want them to look good and I'm not sure they will.

These are the steps I took to make the Canteens:


Using my research I drew a circle pattern to the correct size and cut out two circles of foam. I then cut out the strip to go around the outside. I made strips to support the shape of the canteen and glued the whole thing together.


I cut strips of thinner white foam and glued them on. I rounded the edges like the actual canteens.


I cut slits in the sides to give the impression of wood panels.


I cut two wooden dowels to size, one slightly thicker then the other, and glues them on to make the spout. I drilled a hole in the top one so I can put a string through it.


I sprayed the whole thing with brown primer.


Using a glossy wood tone spray paint, I covered the canteen then rubbed some off to give it a multi-tonal wood effect.
I then added on a faux leather strap using contact cement to ensure it stays on. I also pushed in a nail covered with epoxy glue to stop the strap from peeling off.


I painted the white strips grey then sponged on a lighter and darker grey to create the metal effect. I painted on nail heads and rust around the edges.

I painted on the E R emblem to show they're for British soldiers. 

These are the finished Canteens:


In the end, I'm happy with how these have turned out. They look much better then I thought they would and I'm surprised. I think I am still going to make a wooden one as a separate project and portfolio piece especially as I got half way through making it before we realised it needed to be foam instead.

Wednesday, 2 May 2012

Tree Bark

In scene painting class we had a guest artist who taught us how to make tree bark for sets.

He will usually do this technique on a steel or wooden tree frame that has been wrapped in dry wall tape.

We have just done it onto a wooden board as a sample.

First you use a glue solution to paste strips of scrap fabric onto the base.
Then you take raffia and a paste called Mr Krusty (part glue, part clay powder and part water), and you rub the Mr Krusty and rub it into a bunch of raffia about the thickness of a finger.
You then spread the Krusty on the fabric and lay the strip on it. Repeat the strips a few times then, while it's still wet, massage and weave the raffia to make a bark-like texture.
Continue repeating these steps, then add some shredded tissue to create some flatter surfaces.


Using this piece of research, I then painted the dry 'bark'.


I used a base coat by mixing yellow ochre, burnt sienna and burnt umber. I then dry brushed yellow ochre on when the paint was still wet.

The next coat is a mixture of Van Dyke brown, burnt sienna and raw umber. I then dry brushed and stippled on burnt sienna and yellow ochre.

I then dry brushed a coat of raw umber mixed with black.

I painted two more coats of this, making the mixture darker each time.

I finally stippled on white paint while it was still wet to create the ash-like effect on the tree.


I'm pleased with my tree bark sample and I think it really looks like the research I found.