To start my scene painting journey, I will need a box full of tools so I am well equipped for any task that I may face.
Wood graining tools:
http://www.decoratingdirect.co.uk/viewprod/g/GRAINING_ROCKER__DOUBLE_ENDED/
http://www.decoratingdirect.co.uk/viewprod/c/COMBINATION_GRAINING_COMB/
Brushes:
Dragger:
http://www.decoratingdirect.co.uk/viewprod/s/SBCFG/
A mixture of sizes of normal brushes for different jobs.
Stippler:
http://www.decoratingdirect.co.uk/viewprod/s/SBCST/
Dust:
http://www.decoratingdirect.co.uk/viewprod/r/RODRDG/
Craft Knife:
http://www.decoratingdirect.co.uk/viewprod/1/18MM_BLACK_SNAP_OFF_KNIFE_WITH_HANGING_HOLE/
Paper cups for samples and mixing
Disposable palettes
Large Natural sponge X2:
http://www.fredaldous.co.uk/royal-sea-wool-sponge-large.html
Masking Tape:
http://www.decoratingdirect.co.uk/viewprod/c/CEDMT/
Sandpaper
Rags and Cheesecloth
Overalls:
http://www.decoratingdirect.co.uk/viewprod/r/RODPC186/
Wednesday 22 August 2012
Wednesday 23 May 2012
Evaluation
SDP Evaluation
Looking
back at this unit, it is safe to say that I have thoroughly enjoyed every part
of it.
I
have grown both as a person and as a practitioner in ways that I always hoped I
would, but never thought I would be given the chance to. I am so much more
confident in myself and being in America really made this confidence grow. I
feel that this is because of how open and honest everyone seemed at Ohio
University, but also how willing they were to share ideas with you, ask you
questions on your work, and ask for help when they needed it. This gave me a
different view on approaching others about my work and made me confident to
discuss my ideas and aspirations. I have also grown in confidence when it comes
to travelling and I feel like I could literally go anywhere now, no matter how
many connecting flights I had to take!
One
main thing that I have come out of this experience with is a passionate desire
to be a scene painter. During my scene painting classes I felt that I had a
really good level of skill already and I definitely developed those skills
further and I almost feel confident enough to work out what techniques could be
used on an entire set. Even if I’m not quite there yet, it is something that I
would like to try before leaving University.
I
also felt very comfortable in the props shop. I have used power tools and
workshop machinery before, but at OU I was allowed to use much more equipment
then at the AUCB, which will really help me if I ever have to help build a set.
This leads me onto have trusted all the students at OU seemed to be compared to
the AUCB. They were allowed in all the shops on their own and most senior and
grad students had their own keys. I know this level of trust would probably
never be given to AUCB students, but it does make me question the reason why.
Are we so different to the OU students that we can’t be trusted?
Also
something that impressed me was that the university was open at most weekends
for if students needed to come in to work. This was incredibly helpful to me,
as I did need the resources at OU during the weekends too.
I
was very impressed with how the theatre department was run. Everything ran
smoothly and I liked that the grad students ran the paint and scene shops, it
was really nice to see students have that kind of training and responsibility.
Another
aspect that I was impressed with was how they got students to help out with the
building of a show. As a theatre student you have to do extra credit hours to
pass the year, you will get signed in and out of sessions and earn the hours by
helping paint or build the set. This is great as it not only gave the students
a chance to add something to their CV, it meant that the set painters didn’t
need to worry about getting help. It was surreal to have actors help out with
the painting, as I don’t think that would ever happen at the AUCB.
The
structure of everyone’s courses was quite hard to get my head around. It seems
that everyone was technically on the same course; they just chose a ‘major’
when they finished their second year, which would then become their actual
degree. This takes me back to the point I made before about getting more
experience their CVs. These students could act in a show and run the wardrobe
at the same time because they have the experience!
Being
in America wasn’t too much of a cultural shock and I found that I fitted in
with ease and quickly made some very good friends. There was the occasional
thing that would shock me though, and I was mainly stunned that homophobia was
still a big thing in some parts of America as it really doesn’t happen that
much in England and it certainly isn’t advertised. I was stunned to see a news
report on TV where people were actually giving reasons why gay couples
shouldn’t get married.
Apart
from the occasional little thing though, I found the culture very easy to be a
part of.
I
am very sad that this unit is over as I feel like I’ve been on a great journey
both physically and mentally. I feel so lucky of have been part of the USA
exchange pathway as it really was a once in a lifetime experience that I would
recommend to anyone. I can’t wait to go back to America and I would love to
live there someday and this project has really helped me on the way to that
dream.
Sunday 20 May 2012
Paint Shop hours - WIFA work


Sculpting foam with horse grooming tools to give the look of rock


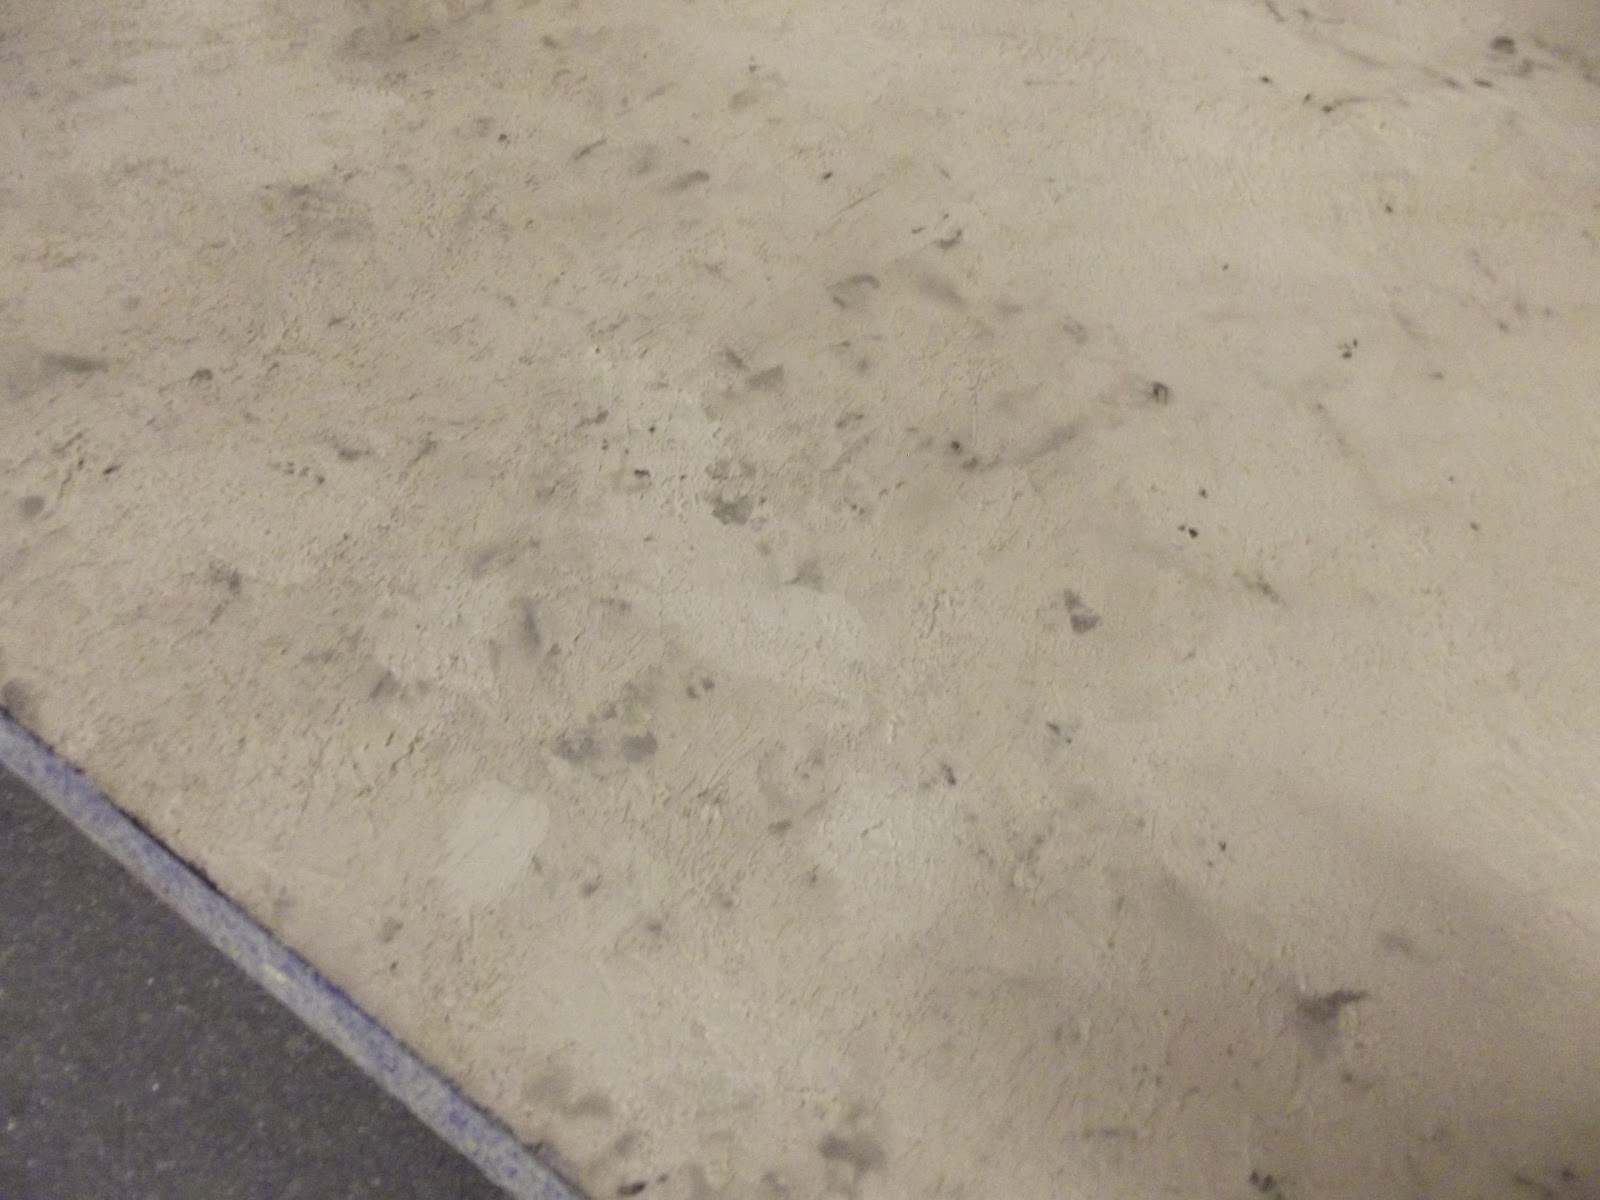
Using Mr Crusty (a mixture of clay powder and white glue) to add texture

We smoothed it on with trowels and then stuck the trowel down flat on the surface and pulled it up to create texture


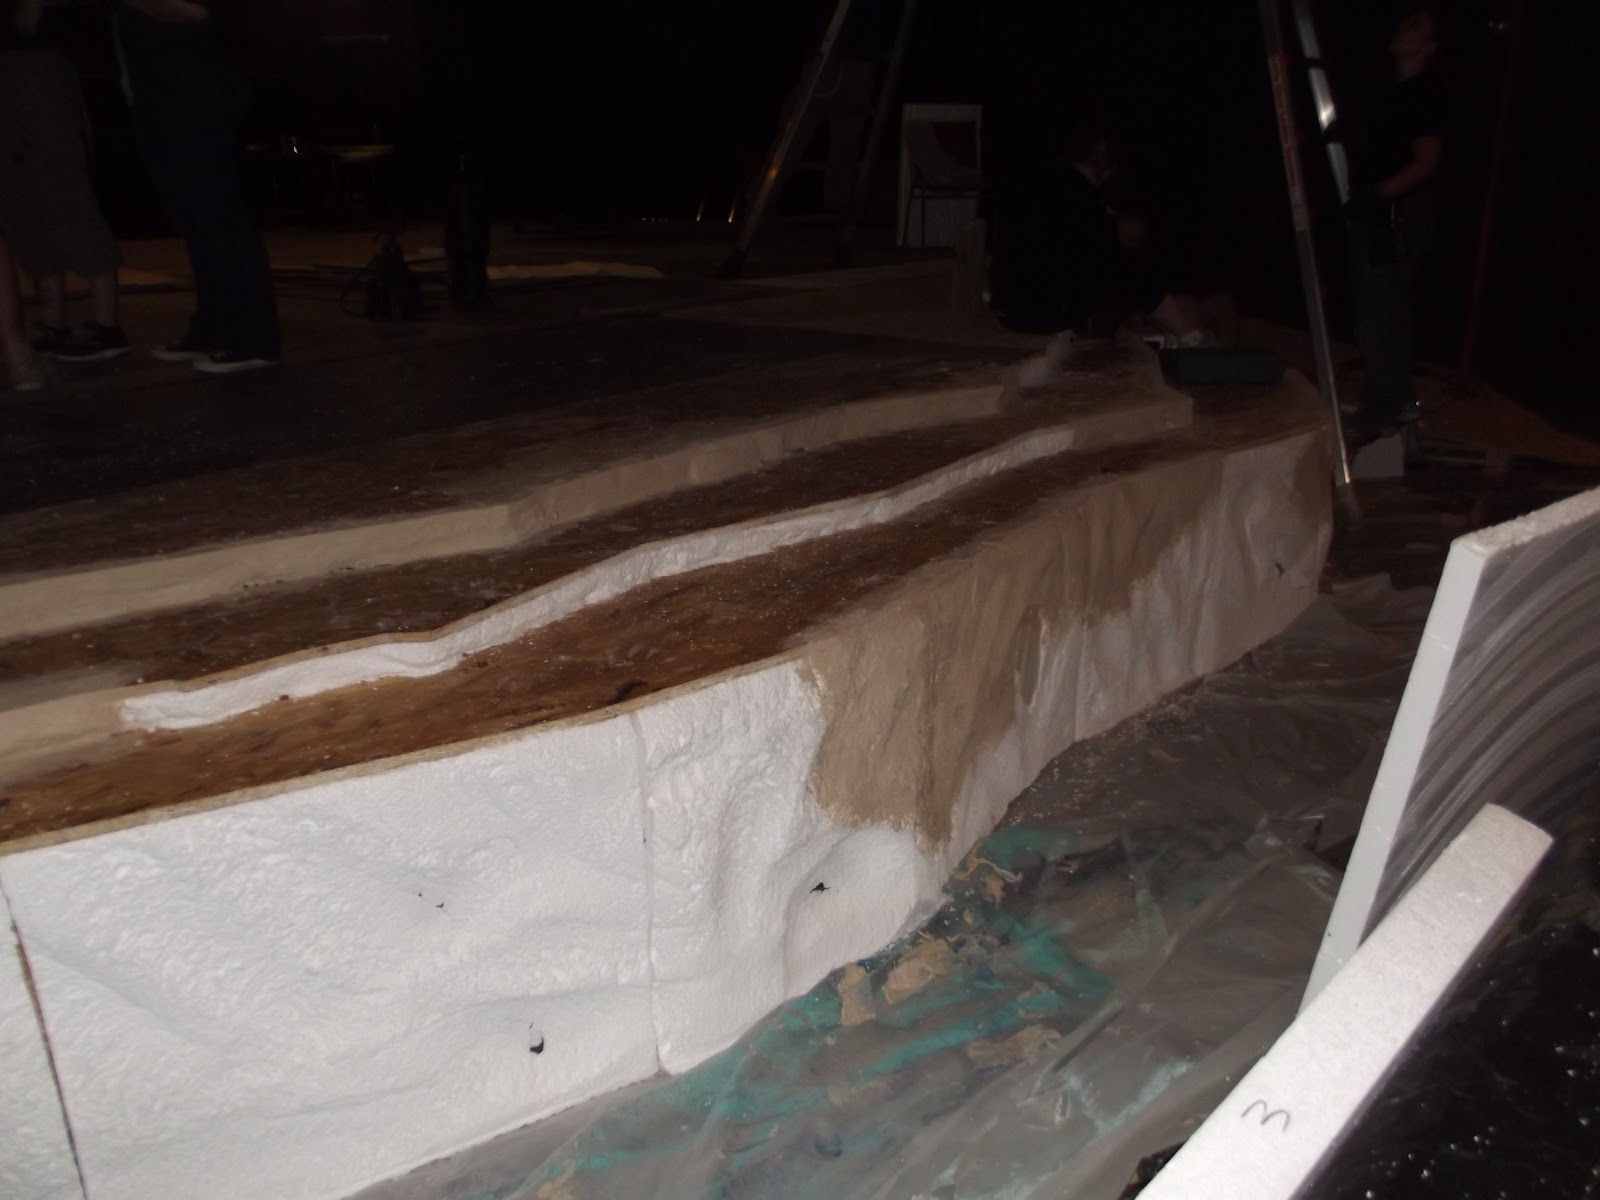
We covered in foam with cheese cloth and Mr Crusty to strengthen it and give it a more rocky feel.

We painted stripes onto the front of the stage to represent the American Flag

We applied Mr Crusty mixed with foam balls to the front to create more texture


We painted red or white on the front of each step depending on what colour the stripe was. This gave an impression of the red dripping down like blood.

I helped the set designer, Cassie, sponge tones of blue on for the square of the flag.

This is what the set looked like after paint priority weekend.
These are some production pictures of the set:

I helped paint the eagle on, paint the rings and paint the 'rock' it's mounted on with the same technique as we did on the front of the stage.

I also helped cover the 'wagons' at the back which are moving set pieces made to look like big chunks of rock.
I have really enjoyed working on the WIFA set and it gave me a chance to apply some of the skills I learnt in scene painting class to an actual set. It has really made me realise how much I want to do set painting.
Marble
For our next scene painting project, we did a marble sample.
We were given this research by David:

This first step was to do a wash of the light base colour. I then splattered it with a slightly darker green, and sponged and cross hatched the same darker green and burnt sienna in places according to the research.


I then sponged on grey in areas that needed it and splattered on a darker green.


I am really happy with this piece and I feel like reflects the research well.
We were given this research by David:

This first step was to do a wash of the light base colour. I then splattered it with a slightly darker green, and sponged and cross hatched the same darker green and burnt sienna in places according to the research.

I then painted the veins on using a feather and a mixture of paint and glaze.

I then sponged on grey in areas that needed it and splattered on a darker green.

I sponged on more burnt sienna and some of a lighter green colour to add more tone and variation.

Monday 14 May 2012
Surface Exploration
For Scene Painting class, I had to take photos of different types of surfaces to use as reference material in the future. I thought this was an excellent idea and I have put all the photos in labelled folders on my laptop. I have also put them into a Prezi presentation. I will continue to add to this library of images over time so that I can easily use them as reference material.
Here is a link to my presentation:
Prezi Presentation
Here is a link to my presentation:
Prezi Presentation
Wednesday 9 May 2012
Backdrop for Tarheel Tales
Kate, a friend that I have made here at OU asked me to paint a backdrop for her recent children's show that she's directing with a small group of actors. I jumped at the chance and wanted to help out as much as I could.
She sent me this image as a reference:

I was really excited when I saw this image as it's so visually exciting and will be great to recreate.
I have decided to use sprayers to apply the paint to the background, I will then go in with a paintbrush to define the swirls. Finally I will splatter silver paint on the lift it a bit.
I took these pictures when I was done:


Corinne Zachry, the sound designer, took these photos on Saturday of the guys performing infront of the backdrop:
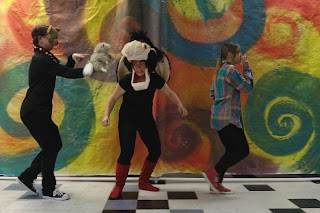

I'm so happy with how it has turned out. It was such a fun little project to do and Kate is really grateful.
She sent me this image as a reference:

I was really excited when I saw this image as it's so visually exciting and will be great to recreate.
I have decided to use sprayers to apply the paint to the background, I will then go in with a paintbrush to define the swirls. Finally I will splatter silver paint on the lift it a bit.
I took these pictures when I was done:


Corinne Zachry, the sound designer, took these photos on Saturday of the guys performing infront of the backdrop:

I'm so happy with how it has turned out. It was such a fun little project to do and Kate is really grateful.
Making a Canteen
Originally, I was meant to make the canteens out of wood. But after seeing a rehearsal, my props tutor has decided that they need to be made from foam as this will be safer during the stage combat and will endure more wear and tear. I feel a bit dubious as I want them to look good and I'm not sure they will.
These are the steps I took to make the Canteens:

Using my research I drew a circle pattern to the correct size and cut out two circles of foam. I then cut out the strip to go around the outside. I made strips to support the shape of the canteen and glued the whole thing together.

I cut strips of thinner white foam and glued them on. I rounded the edges like the actual canteens.

I cut slits in the sides to give the impression of wood panels.

I cut two wooden dowels to size, one slightly thicker then the other, and glues them on to make the spout. I drilled a hole in the top one so I can put a string through it.

I sprayed the whole thing with brown primer.

Using a glossy wood tone spray paint, I covered the canteen then rubbed some off to give it a multi-tonal wood effect.
I then added on a faux leather strap using contact cement to ensure it stays on. I also pushed in a nail covered with epoxy glue to stop the strap from peeling off.

I painted the white strips grey then sponged on a lighter and darker grey to create the metal effect. I painted on nail heads and rust around the edges.

I painted on the E R emblem to show they're for British soldiers.
These are the finished Canteens:


In the end, I'm happy with how these have turned out. They look much better then I thought they would and I'm surprised. I think I am still going to make a wooden one as a separate project and portfolio piece especially as I got half way through making it before we realised it needed to be foam instead.
These are the steps I took to make the Canteens:


I cut strips of thinner white foam and glued them on. I rounded the edges like the actual canteens.

I cut slits in the sides to give the impression of wood panels.

I cut two wooden dowels to size, one slightly thicker then the other, and glues them on to make the spout. I drilled a hole in the top one so I can put a string through it.

I sprayed the whole thing with brown primer.

Using a glossy wood tone spray paint, I covered the canteen then rubbed some off to give it a multi-tonal wood effect.
I then added on a faux leather strap using contact cement to ensure it stays on. I also pushed in a nail covered with epoxy glue to stop the strap from peeling off.

I painted the white strips grey then sponged on a lighter and darker grey to create the metal effect. I painted on nail heads and rust around the edges.

I painted on the E R emblem to show they're for British soldiers.
These are the finished Canteens:


In the end, I'm happy with how these have turned out. They look much better then I thought they would and I'm surprised. I think I am still going to make a wooden one as a separate project and portfolio piece especially as I got half way through making it before we realised it needed to be foam instead.
Subscribe to:
Posts (Atom)